VEEAM Standard Operating Procedures Training (Process Document)
Partner Margins:
- Renewal License 9% Dist Discount = 5.5% Margins (Base SKU – Prefix 88)
- Renewal License Additional Years 9% Disti Discount = 7% Margins (Additional Years – Prefix 88)
- Subscription Renewal 20% Disti Discounts = Margins depends on Partner Status (Prefix – 88)
- New License Disti Discounts 9% = 5.5% Margins (Additional Years – Prefix 87)
- New License Disti Discounts 10% = 5.5% Margins (Internal Use Licenses – Prefix – 87)
- New License Disti Discounts 20% = Margins depends on Partner Level (Prefix – 87)
- ALL NEW Business License Margins depend on Partner Level unless otherwise specified (20% Disti Discount (Base SKU – 87))
- Additional Years (New Business – 87) = 9% Disti Discounts = 5.5% Margin for all partners unless otherwise specified
- Internal Licenses = 10% Disti Discount = 5.5% Margins (Only available for Silver, Gold and Platinum Business Partners)
Other Margins:
- FT KZN = 6% Margins on 9% Disti Discounts for Renewals and 8.5% Margins on everything else (Base and Additional years)
- FT CPT = 5% Margins on 9% Disti Discounts and 7% Margins on 20% Disti Discounts
- GIST = 20% Margins on 9% Disti Discounts
- DD = 7.75% Margins on ALL Disti Discounts due to rebate IF rebate is waived then use 5.75% Margins on everything
- BCX = 5% Margins on 9% Disti Discounts (Renewals only) and 6% Margins on everything else
- TecTight = 9% Margins on 20% Disti Discounts
- Footprint Africa Business Solutions = 8% Margins on 20% Disti Discounts
- ALL IOI Region 9% Margins on 20% Disti Discounts accept Platinum, still use 8% Margins on 20% Disti Discounts
See the below snippet of the above Partner Margins, for Other Margins please use the Veeam Pricing Calculator for Accpac it is under Library on the Veeam Portal, DD is included on the snippet

All Quotes that have special pricing (NSQ) or manual quotes are saved in the Veeam folder
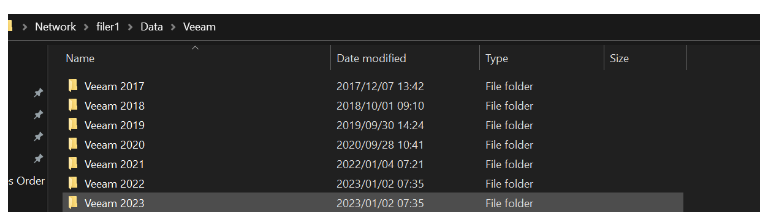
Below is the path to get to Veeam Folder:
Below is the path to get to Pipelines, Pricing tools, Quotes, and saved Pricing tools (Manual Quotes):
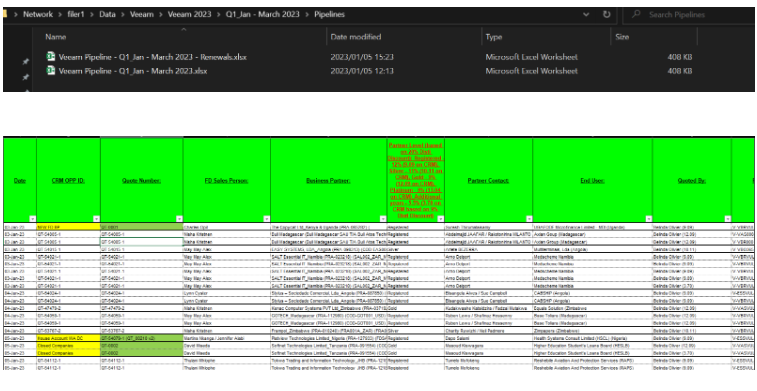
Below is what is under the Pipeline folder (Pipeline for Renewals and New):

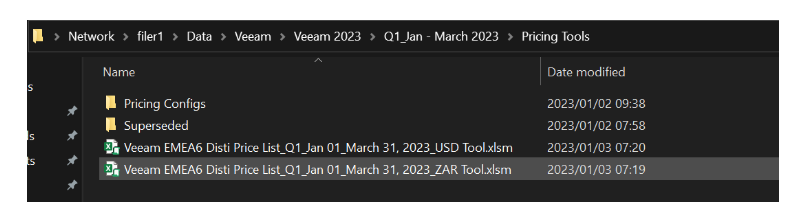
Below is what is under Pricing Tools, the two Excel Sheets is what we use to do a Manual Quote one in ZAR and one in USD (normally when we have a New FD BP OR perhaps account is Inactive/Closed Companies) or we use Manual Quote for NSQ (None Standard Quote)/ DR (Deal Registration) pricing (just to make sure pricing is correct before we do it on CRM)
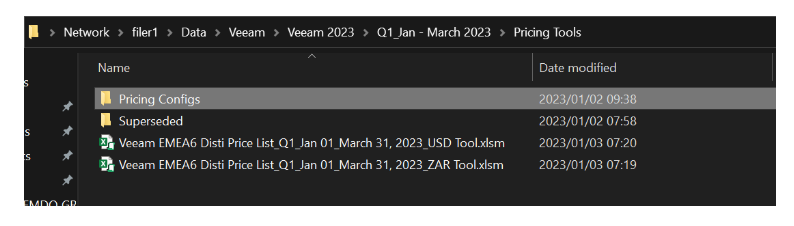
Below is what is under Pricing Configs in the first file (New Configs) we safe the Manual Quote that we perhaps did for New FD BP’s or Inactive/Closed Companies or Budgetary Purpose Only.
The second file (NSQ Configs) we safe the Manual calculation of a NSQ that we receive from the Vendor so that when we do CRM we know what the pricing should be and we know how to override the margins/discounts on CRM

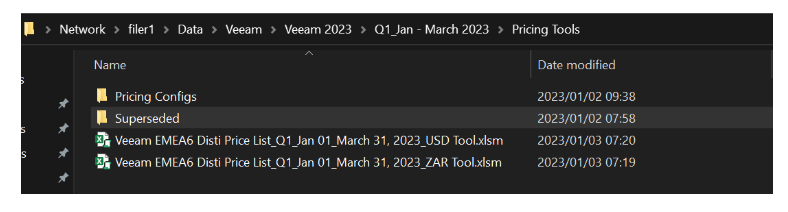
We have the Folder with the word Superseded and basically in there we will put all the Pricing Tools we used from our Vendor that we no longer use eg normally a pricing tool/list will be valid for 3 Months however the Vendor can change this every month if they want, so that we still have record IF any weird queries come through
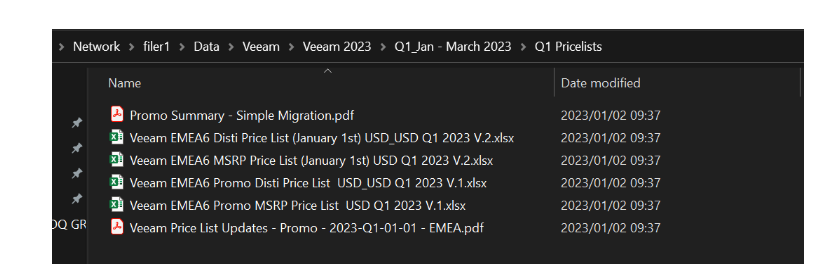
We have a folder below with the wording Q1 Pricelists and in there we put in ALL the Pricing files we receive from the vendor from Q1 – Q4 so that we will always have records of everything, every quarter we will open these files so that it does not become to messy or confusing
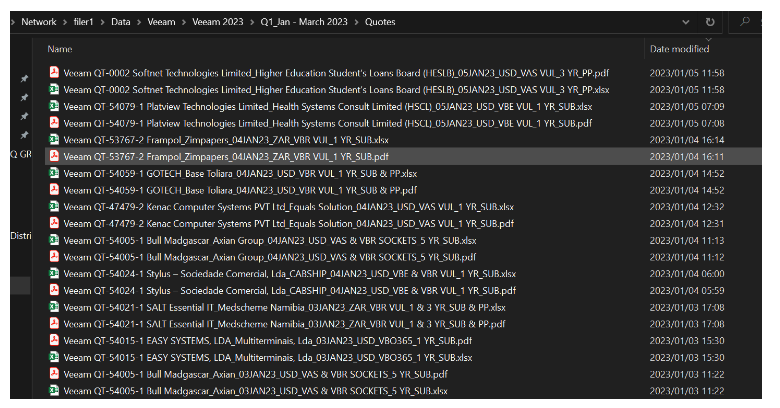
We have a folder below with the wording Quotes this is where we save ALL our quotes, Manual or CRM, we always save Excel and PDF as most of the BP’s use our Excel Quote to add their margins when they quote the End User
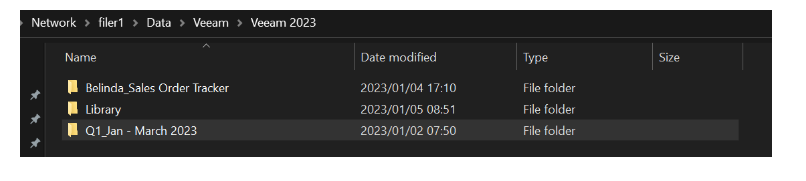
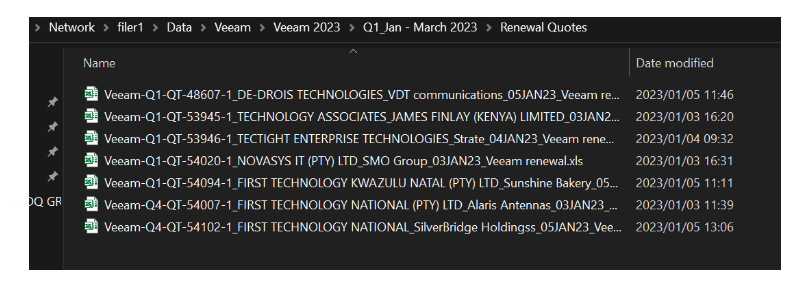
We have a folder below with the word Renewal Quotes this is where our Renewals Team save ALL the Veeam Renewal Quotes so that all the Veeam is together
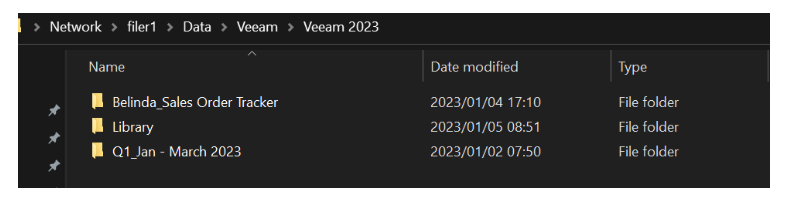
We have the first two folders; the first one Belinda Sales Order Tracker is ALL new PO’s placed for each month with all the supporting documents and also a Sales Order Tracker that has all the relevant information regarding the PO placed.
The second folder Library has all important documents or procedures or banking documents anything that might assist in quoting Veeam
How to do a Manual Veeam Quote:
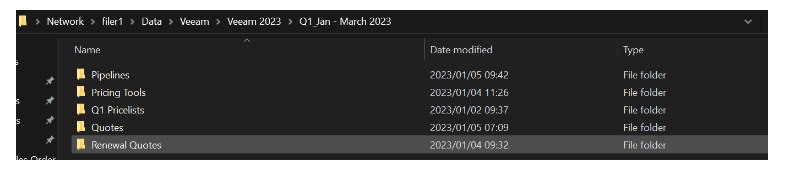
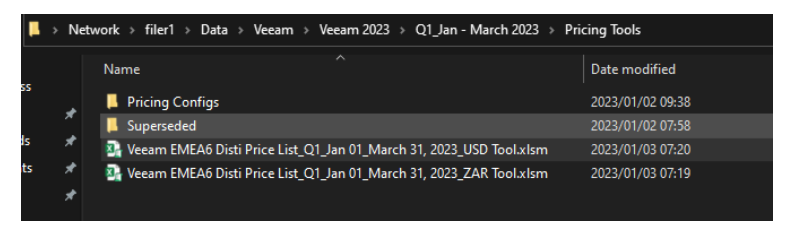
To get to the actual Manual quotes, go into eg the folder Q1_Jan – March 2023, it will depend on which month or quarter it is but because we still in Q1 it will be as per the snippet below
Go into the folder that is marked Pricing Tools.
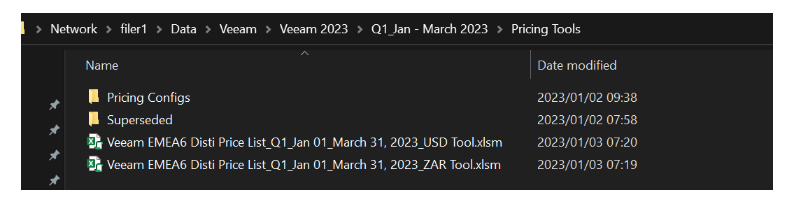
Use one of the two Pricing tools below on the Excel sheet as shown below.
Before we do the actual Manual Quote please take note of the below, in this scenario we are going to do a USD quote, please note the ZAR quote works exactly the same all you will do differently is use the correct ROE (spot + 30c) we normally use the below link for ROE purposes

On opening any of the two Pricing Tools (USD or ZAR) the below is what you would see first, for a BP to do a DR (Deal Registration) the minimum USD price is $4000 (only Silver, Gold or Platinum Business Partners can do a DR) IF DR is approved, they all get additional 10% discounts.
We use the Partner Level highlighted in yellow, the other margins are kept for reference purposes and can change at any time our BM (Brand Manager) decides, the green highlighted patch is the Standard Partner Discount levels we would use and the discount/margins figure we would use or make sure on CRM that it is pulling through correctly, ALL Partner Margins AND Other Margins is explained on Fist Page of this process document. The rest of the Step 1 – 5 is basically what to fill in on the pricing tool to create a Veeam Quote

How to do a Manual Excel Veeam Quote:
Step 1:
Check who the email is from (AM, Vendor or Partner)
Step 2:
Send email to Veeam Vendor to get correct Sku’s, renewals will go to (Veeam.Renewals.SA@veeam.com), cc veeam.ops@firstdistribution.com and Allan, new will go to (@Veeam.External.InsideSales.AfricaSouth.Quotes), cc veeam.ops@firstdistribution.com, Winston and the correct AM
Step 3:
Respond to person that requested quotation and acknowledge that you have received the e-mail. cc veeam.ops@firstdistribution.com Winston and AM
Step 4:
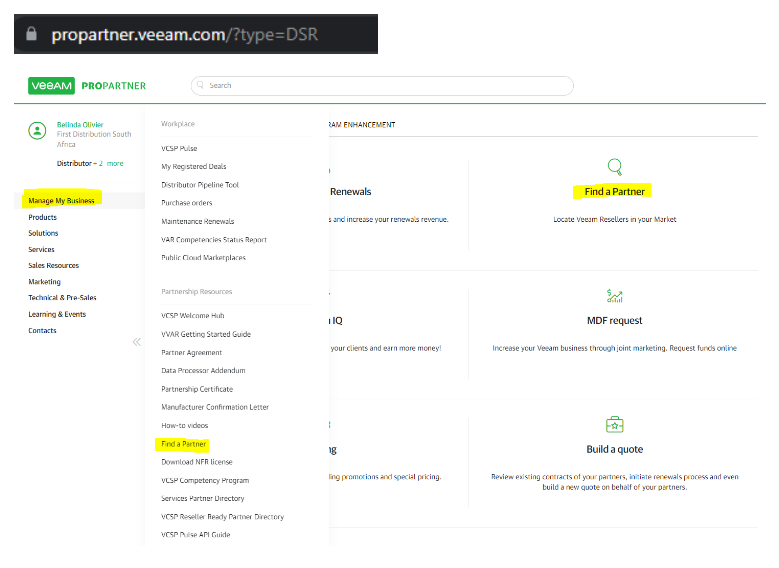
Search Partner on Veeam Partner Portal (Veeam ProPartner Portal) to determine the Partner Level so that you know what margins to use for which partner as per the screenshots on previous page (page 5)
Select Find a Partner to find out what level your BP is on by either clicking on Find a Partner as highlighted on the right-hand side or actually going to Manage my Business on the left-hand side and choosing Find a Partner highlighted on the drop-down
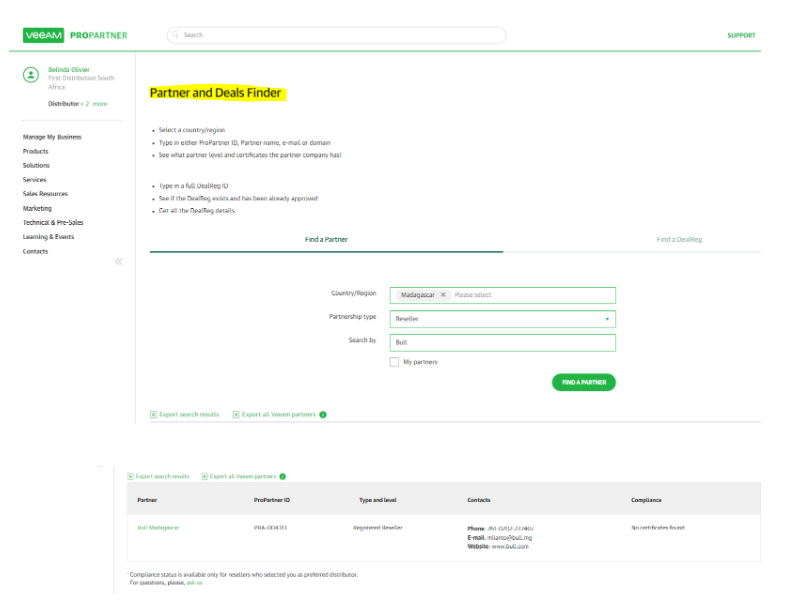
Complete the below fields as per the words Partner and Deals Finder highlighted and tap search:
Once SKUs or assistance are received by Vendor go to the Pricing file Veeam 2023 (Veeam EMEA6 Disti Price List_Q1_Jan 01 – March 31, 2023_USD Tool) demonstration was done on the first few pages of this procedure document
Step 5:
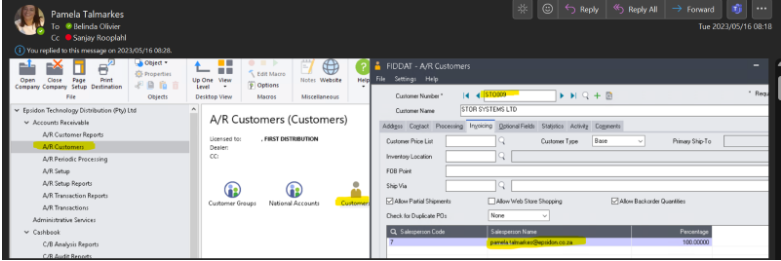
Check Accpac
-O/E Transactions (Order Entry) or A/R Customers (Customer Groups)
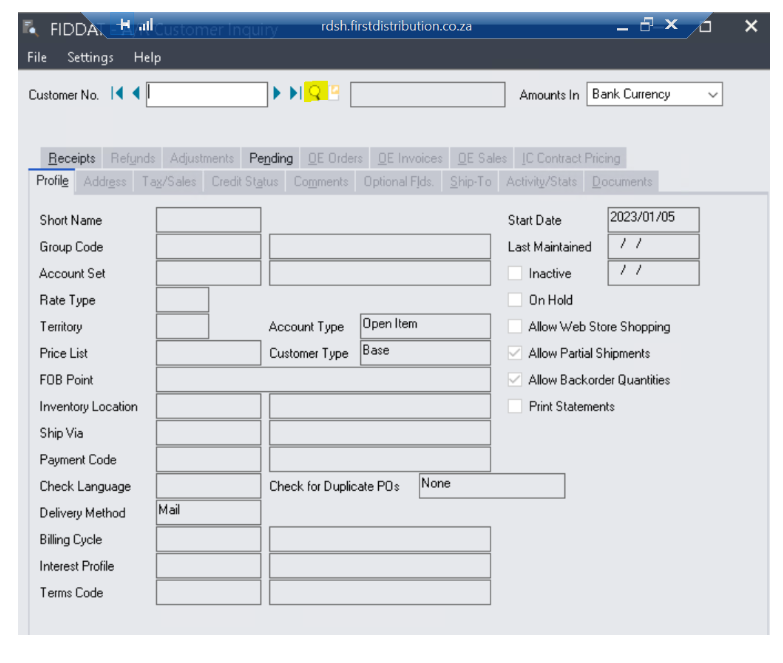
-O/E Transactions (Customer Inquiry)
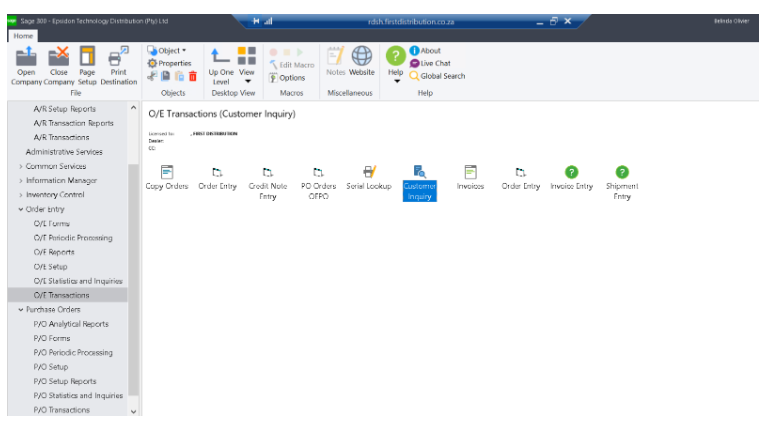
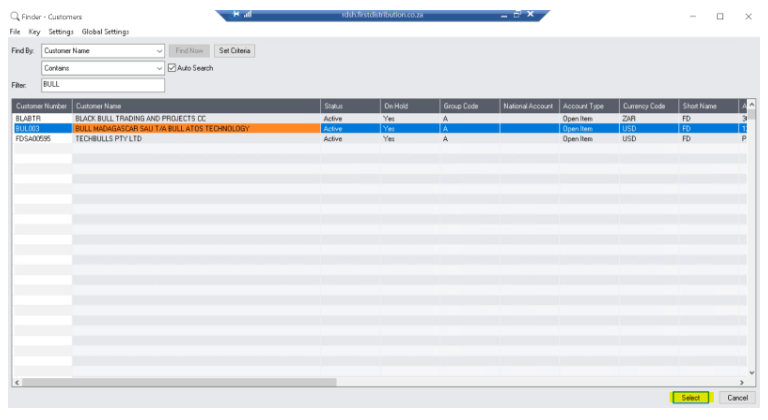
Use the magnifying glass to search your BP (Business Partner)
In this process we are doing a quote for BULL MADAGASCAR SAU T/A BULL ATOS TECHNOLOGY as per below here we can see there is only one account for this Business Partner, so this would be the
correct account, in other cases please make sure of the region eg JHB, CPT, KZN, PE or any other country and also Currency Code USD or ZAR as some of our out of Africa Business Partners have ZAR and USD accounts, correct one needs to be selected.
Press on Select at the bottom of the screen, highlighted to see who the AM (Account Manager) is for this specific BP so that the correct account is selected in CRM when you proceed to do the quote on CRM
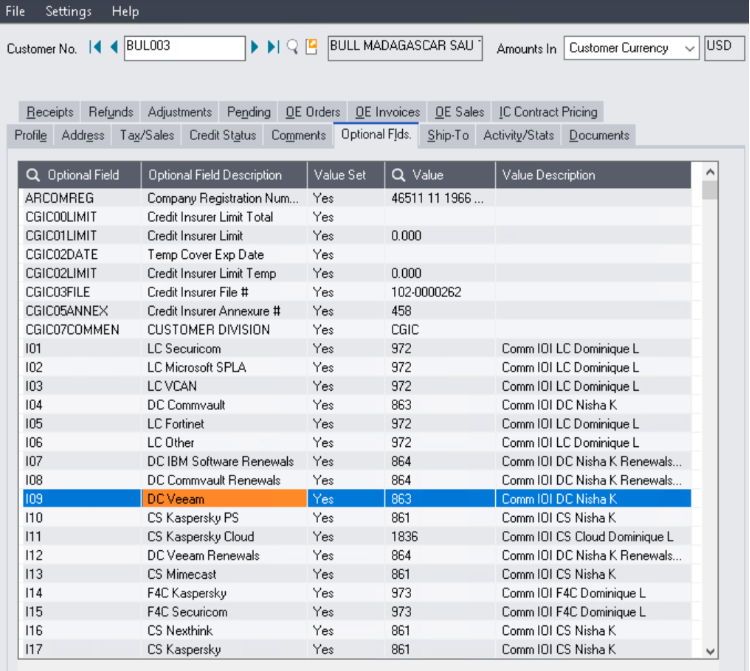
The account number and some of the information will appear, select Optional Fields as highlighted below on the screenshot
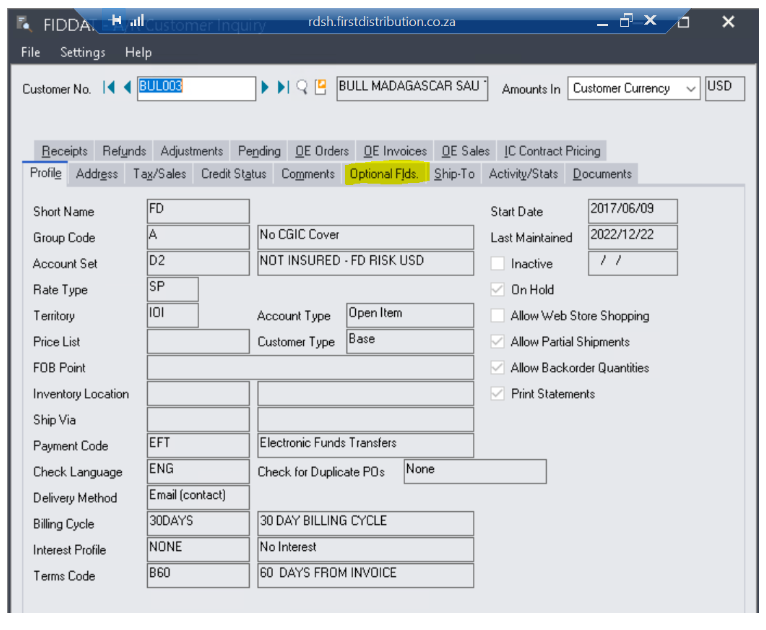
In this case for our demonstration, it will be Nisha Kristnen, she is the AM for BULL MADAGASCAR SAU T/A BULL ATOS TECHNOLOGY
Step 6: Check Partner Status
-Go to Veeam portal (demonstrated in Step 4)
-Manage my business
-Add country (Region)
-Partnership= Reseller
-Search by= Partner Name/ PRA domain ……@…com/za or any other domain on the mail trail from the BP
-Tap find partner

After all the above information has been obtained you are now ready to do the Excel Manual quote
Excel Manual quote (Choose USD/ZAR dependent on region)
USD = R1
ZAR = ROE + 30c
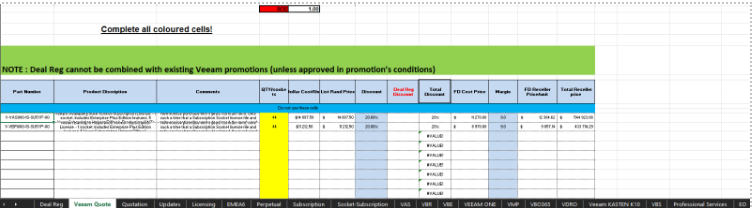
Step 7: Start on the Veeam quote template
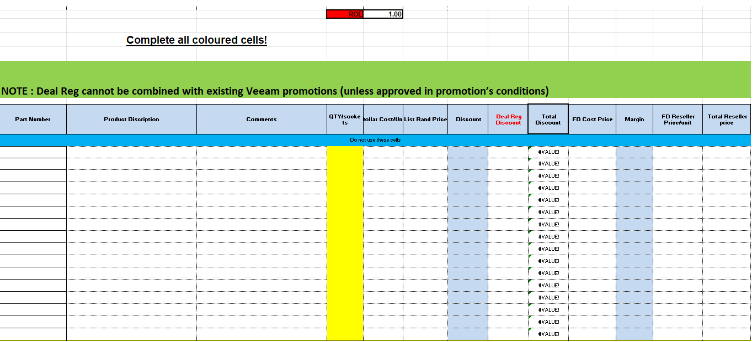
-Start underneath the blue line
-Add part/sku number, qty, margin
-Update ROE for ZAR Business Partners and Leave on ROE 1 for USD Business Partners
Step 8: Go to the Quotation template (Next tab)
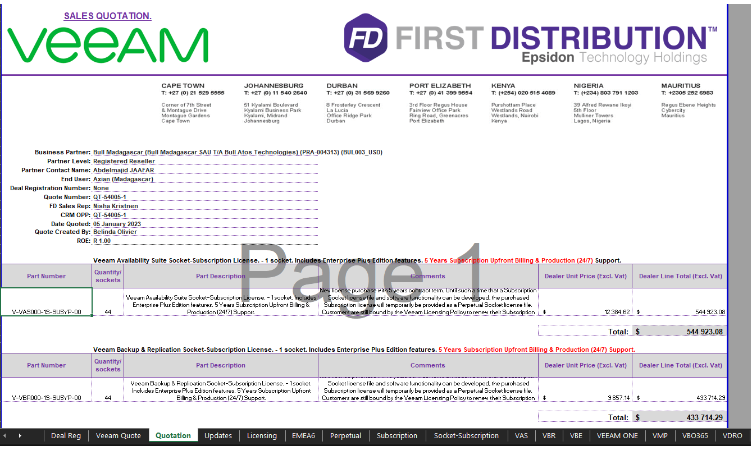
-Complete all details
-Add headings for each option
-Make sure the Dealer Line Total is calculated correct
-To calculate total =sum (highlight amounts) enter
-Save as a template under your correct pricing tool selection as mentioned before
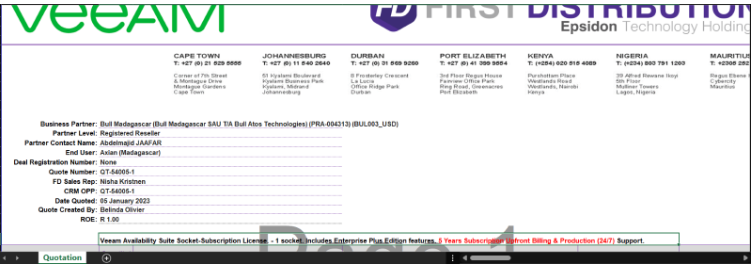
Step 9: Click on Veeam logo
-Once you see quotation with no other tabs, you know the formulas are removed and you can save under correct folder on the Veeam folder on the server as demonstrated before under the Quote folder.
Step 10: Update the Pipeline spreadsheet
-Open up pipeline template based on previous screenshots
-Choose correct Veeam Pipeline to update information
Here you complete:
-Date
-CRM Opp ID= CRM Opportunity id
-FD Salesperson= AM
-Business Partner = Reseller (BP)
-Partner Level= Registered, Silver, Gold, Platinum
-Partner Contact= Reseller contact person
-End User= End user company name
-Quoted by= Your name and Surname add in the CRM
-Part number= SKU
Margin= Specific margins for each BP and sku (this is Registered BP so normally we would use 12% Margins on 20% Disti Discounts and 5.5% Margins on 9% Disti Discounts HOWEVER as mentioned on the first page of this Process Document this BP is in our IOI Region hence we need to use the same margins as a Gold BP eg 9% Margins on 20% Disti Discounts and 5.5% Margins on 9% Disti Discounts)
QTY= Refer to quote
ROE= ROE at the time + 30c
Actual selling= Quote selling vat excl
Comments= Brief on what was quoted
Include below in e-mail sent to customer:
Please note I have redone your quote on our internal CRM system that generates quotes, there might be a slight difference in pricing because our manual pricing tool has 10 decimals after the “,” and the automated pricing only has 2 decimals after the “,”.
Don’t forget to add boarder after each quote.
How to do a CRM New Veeam Quote:
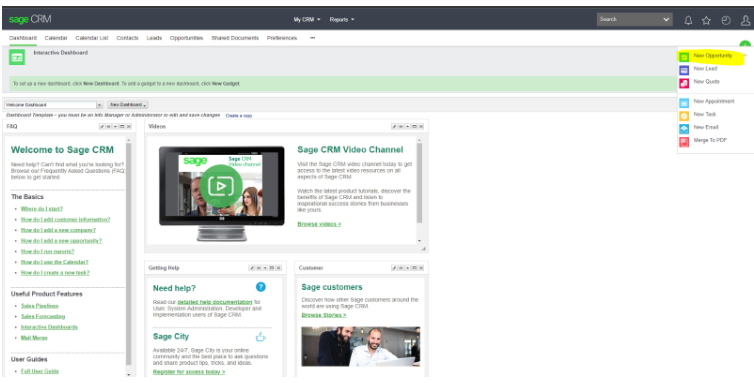
-Log onto CRM and press green “+” highlighted below to create new quote.

-Tap new opportunity
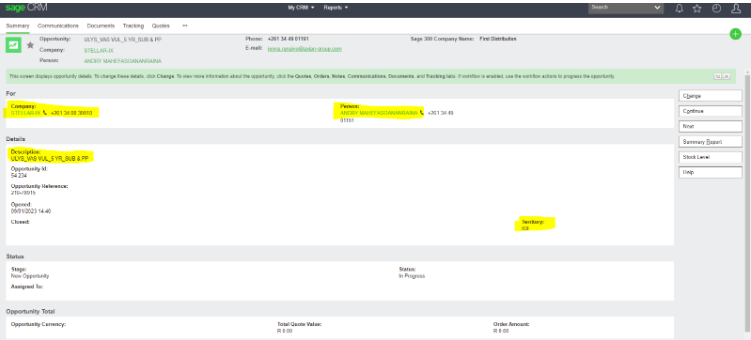
-Company= %Reseller name
-Contact= Select Contact person at reseller (If it’s not listed choose any person and get AM to add contact at a later stage)
-Description=End user_Product
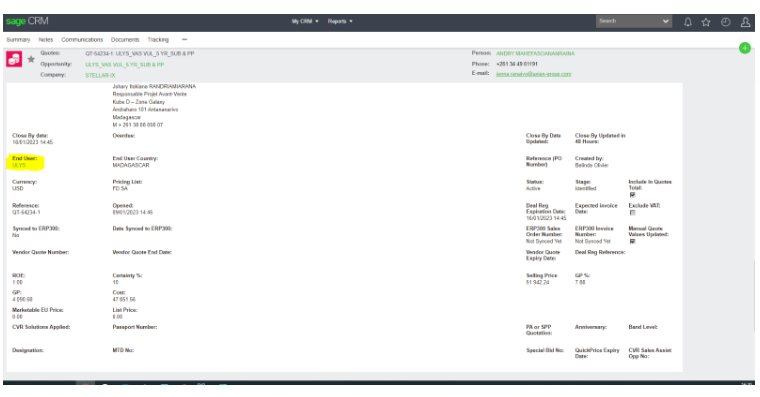
-Make sure Territory is correct eg. In this case it should be IOI (BP is in Madagascar and Madagascar falls under the IOI Territory)
-Save
-Go to Quotes
-Press on New
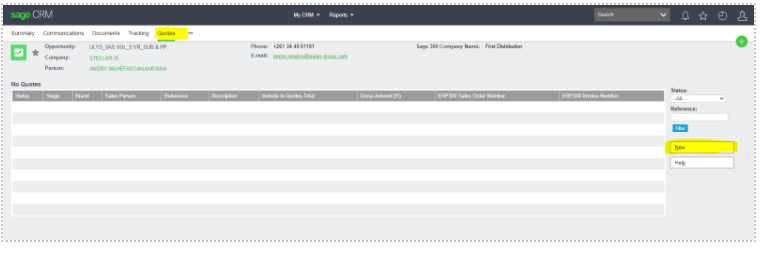
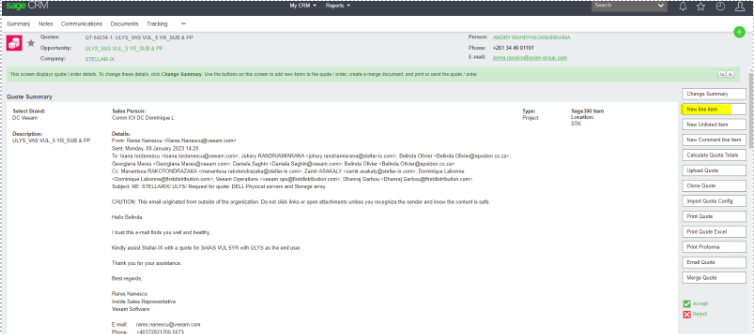
-Heading says New Quote
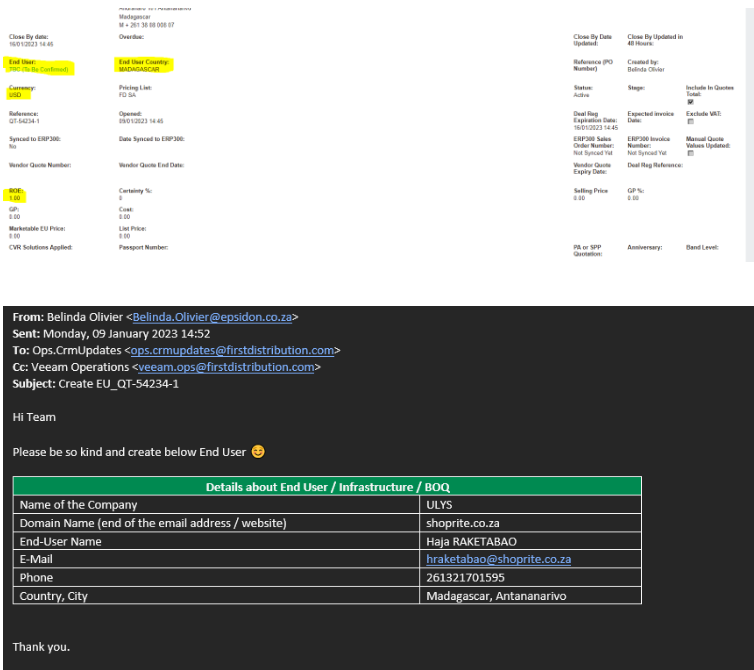
-Fill in all the highlighted areas, get EU created if not on CRM and while you wait you can select %TBC (To be Confirmed), change it when it has been updated

-Start the quote by clicking on the New Comment line item (as this quote has two options hence we add headings to separate the two options)
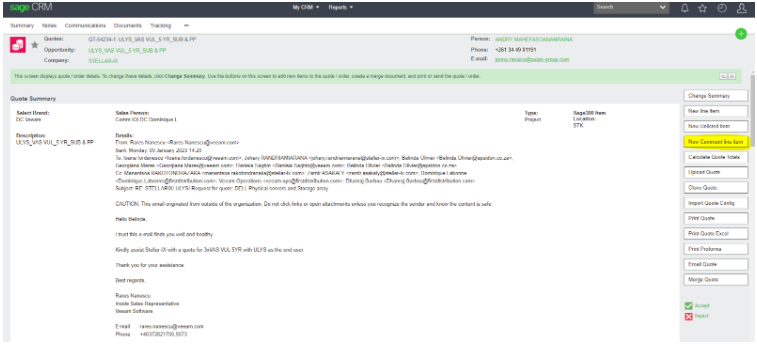
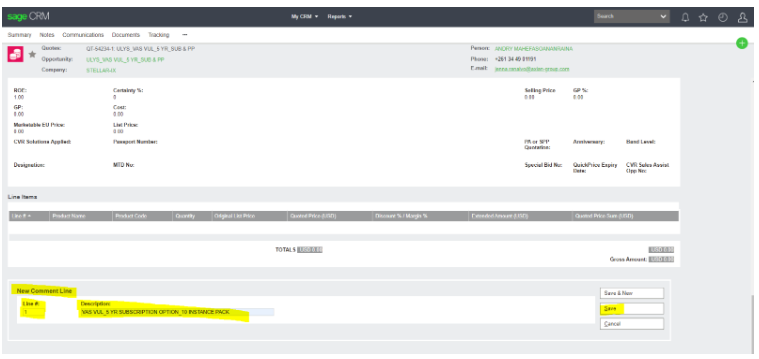
New Comment Line
-Fill in the Line# and the Description (this will only be a one-liner as this is for 5 yr Subscription option)
-Save
-Click on New line item to start with the first option
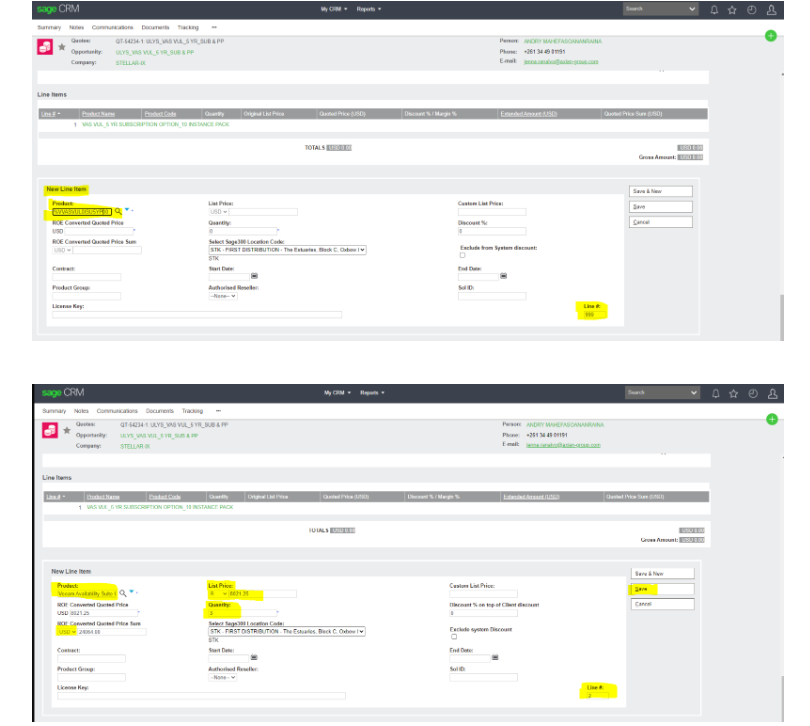
New Line Item
-Fill in product by starting with adding % and taking out all the hyphens “-“ from the copy and pasted sku, press on the magnifying glass, the sku will change into words under the Product block
-make sure the List Price is correct
-add in the Quantity
– change Line# to whichever the next line will be in this option it will be line 2
-Save
-Go back to New Comment Line item to start with the second option
-Repeat as above (the second option has two lines the one liner is for 1 year included second line is for additional 4 years to make this a 5 yr Perpetual Option)
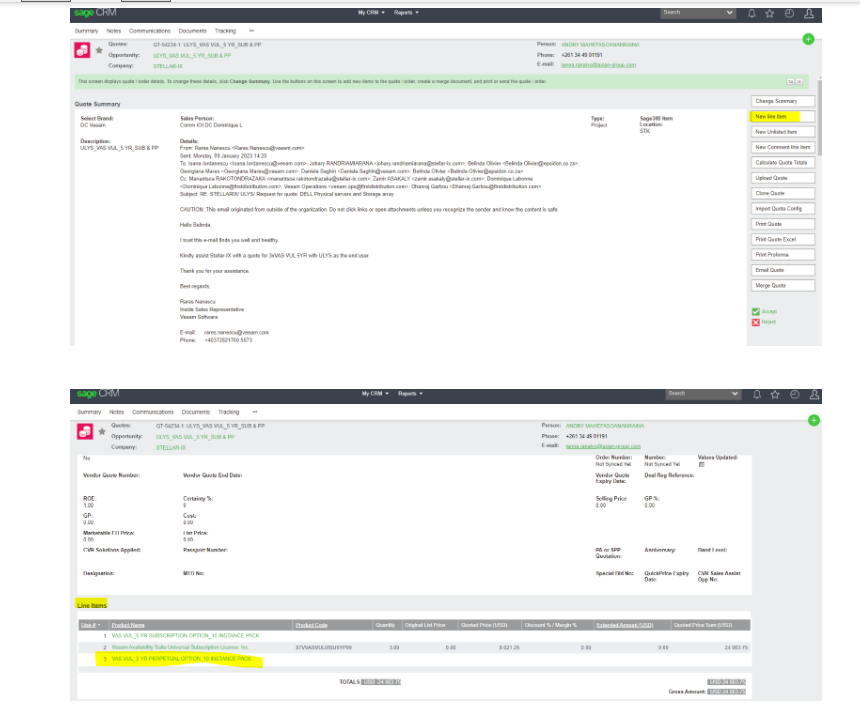
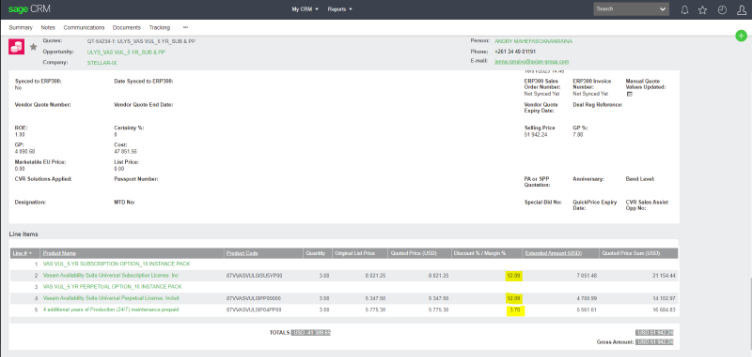
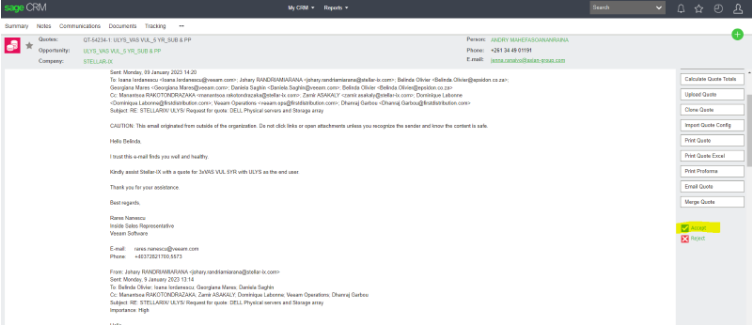
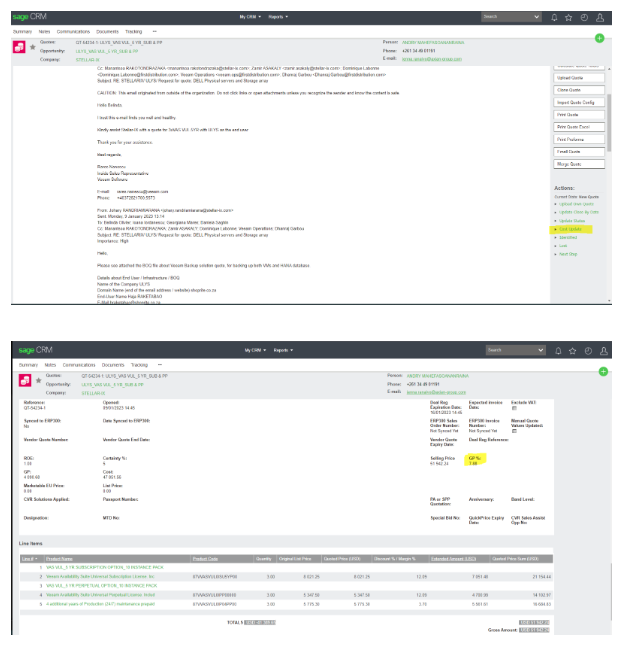
-Press on Calculate Quote Totals
-to make sure all the margins are pulling through 100% (in this case it is not as our Disti Discount changed from 23% to 20% on base sku’s and for the additional years it changed from Disti Discount 15% to 9% hence the additional years price also went up, send to CRM Ops Team to fix)
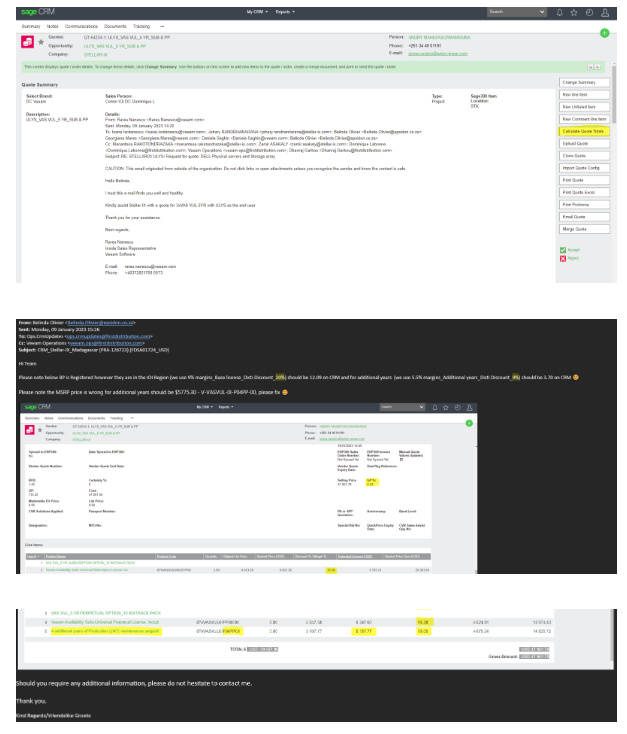
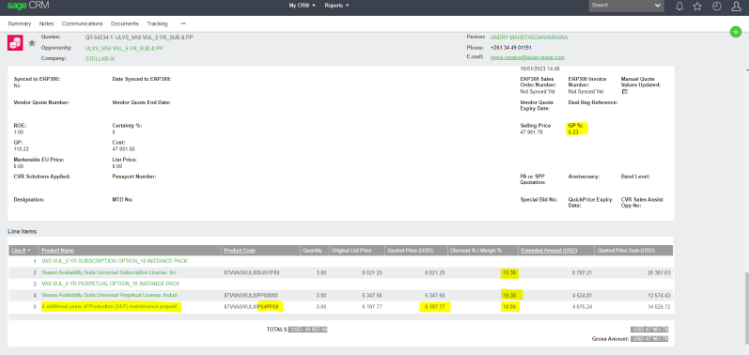
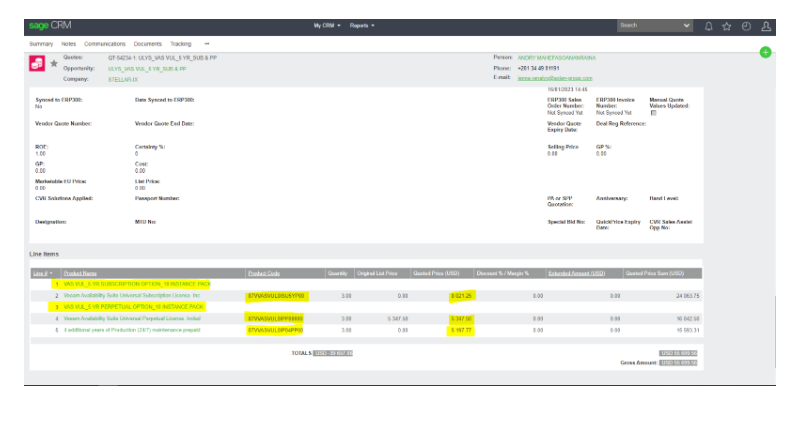
IF all was correct you would go and press on Accept on right hand side but the above is not correct, it has been given through to Ops CRM to fix, in the meantime we can fix it manually.
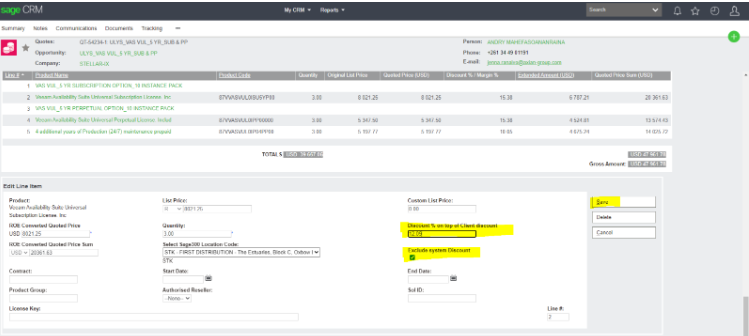
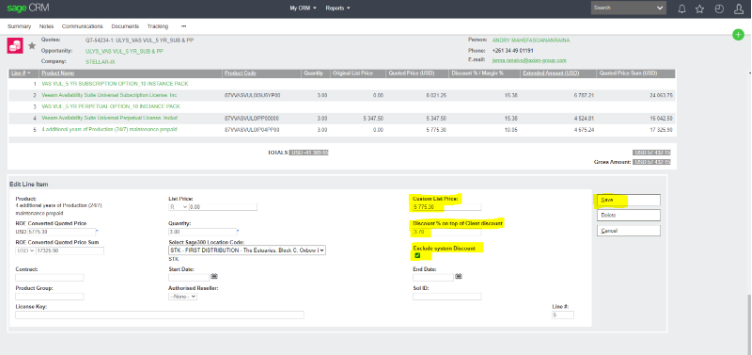
-Go back to where the sku’s are and press on “second line” to make the change for the 5 yr Subscription option
-Go tick on Exclude System Discounts and fill in Discount % on top of Client discounts (in this case to get to 9% margins we use 12.09 as Discount % on top of Client discounts refer to Veeam Calculator if necessary)
-Save
-fix second option’s two lines the margin portion and the MSRP on the additional 4 years that is wrong, can only fix one line at a time after fixing as per below press Save
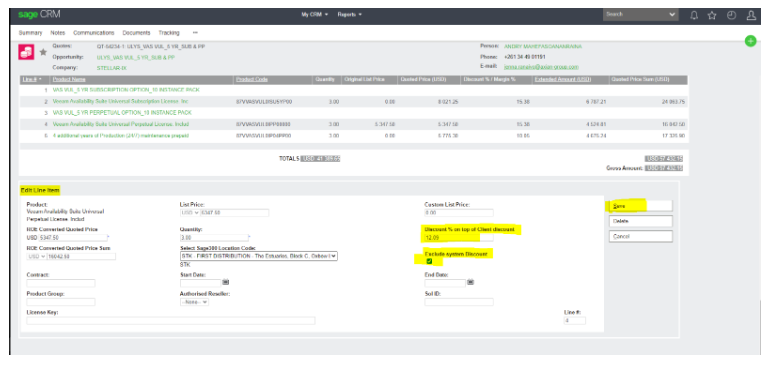
-Fix second line on second option (the additional 4 years as MSRP is wrong fix it by changing Custom List Price and fix Discount % on top of Client
-Go tick on Exclude System Discounts and fill in Discount % on top of Client discounts (in this case to get to 5.5% margins we use 3.70 as Discount % on top of Client discounts refer to Veeam Calculator if necessary)
-Save
-Go back to Calculate Quote Totals and press so everything (all the changes) can recalculate
-After all is fixed up choose Accept
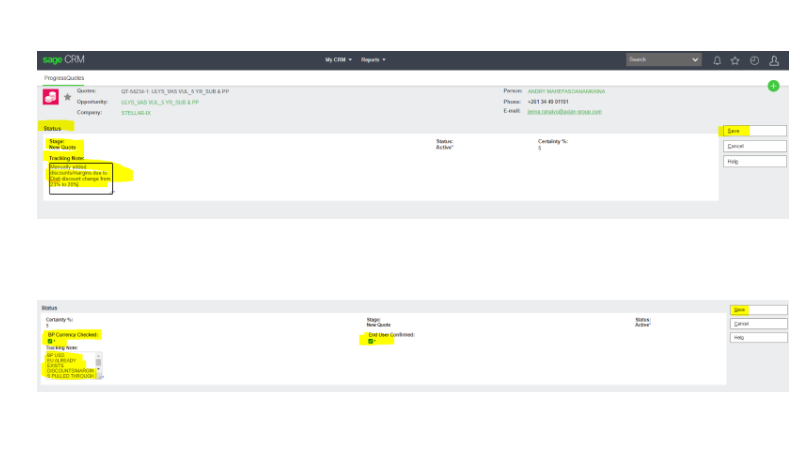
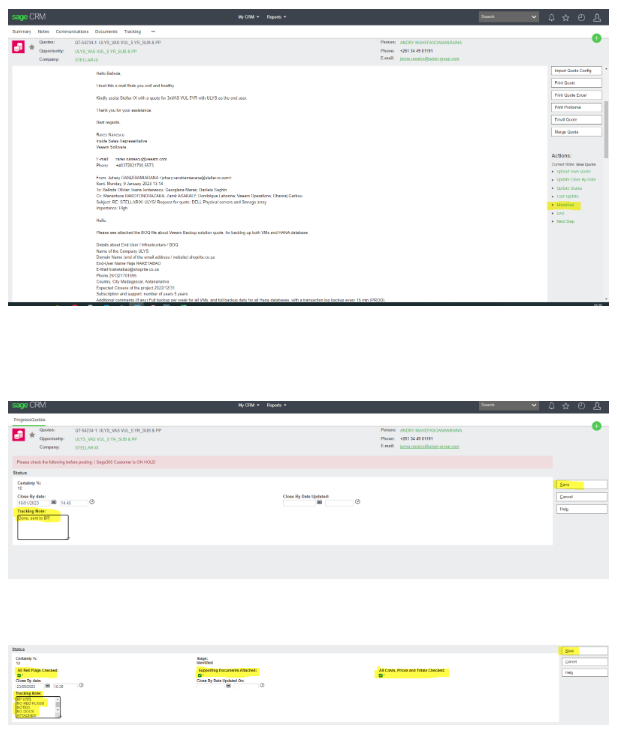
-Fill in Tracking Note AND Tick all the boxes before you can proceed (new steps added refer to Page 32 from Colette Routly)
-Save
 -Because we made changes, we need to update “Cost Update” if necessary as the margins are not pulling through correctly due to the manual changes made
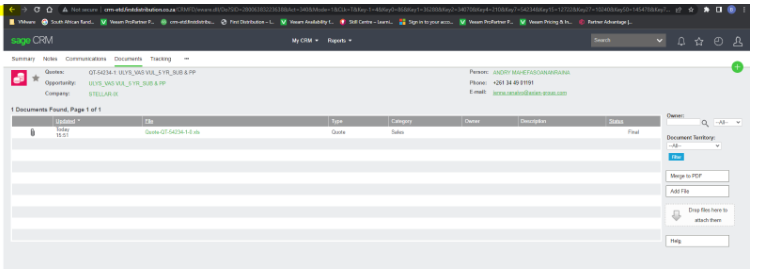
Quote is done, we need to Print Quote Excel
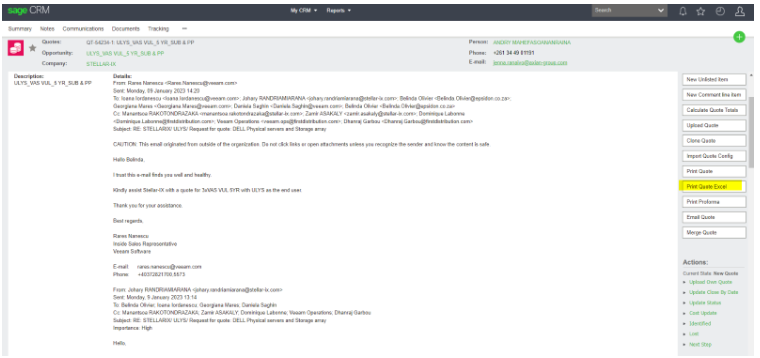
Click on attachment sign to download quote
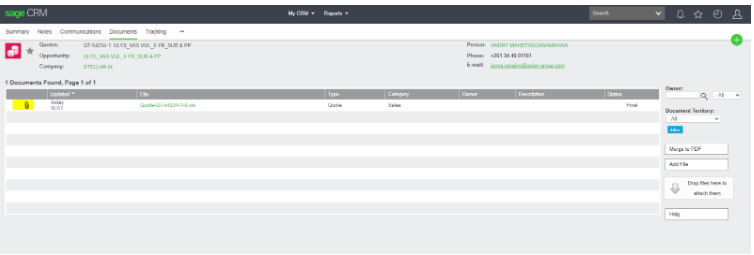
-Make quote “pretty” and save to the Veeam server as per all the previous notes.
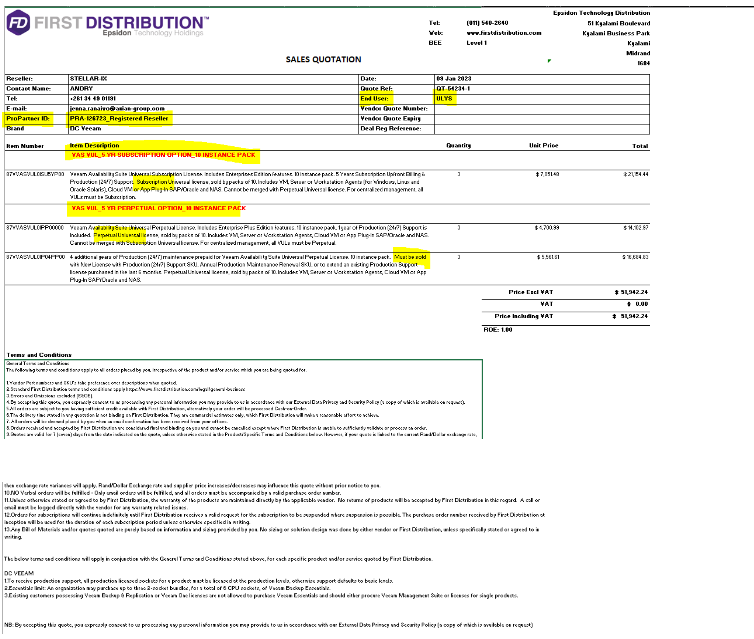
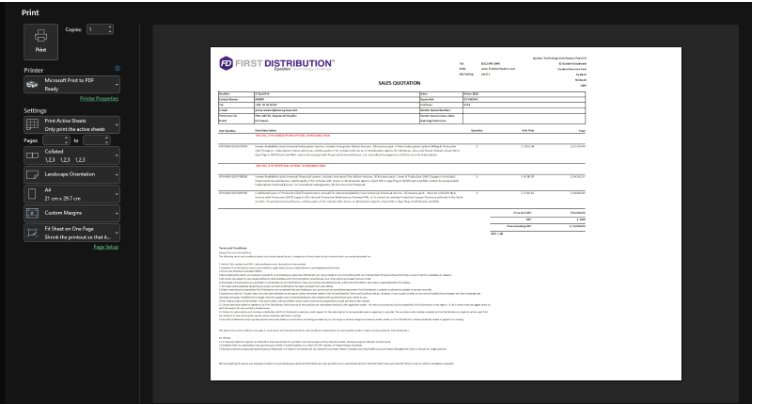
-Go File print make sure it is to PDF and Page setup is Fit to 1 page and go OK
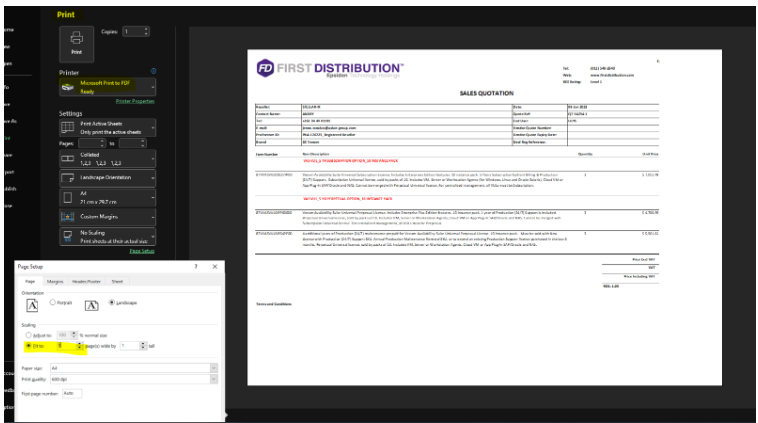
-Entire quote fits to 1 page
-Press Print now you save the quote to the right destination
-Create Excel copy as well save to same destination
-Press on <- to go back to original page
so that you can do the Identified portion, Tick all the boxes before you can proceed (new steps added refer to Page 32 from Colette Routly) Save and send quote to BP or AM
SALES PROCESS CYCLE IN CRM QUOTE- SOP:
Once the quote has been created and you’re happy with the margin, the cost and the selling price, the quote needs to be accepted.
When accepting the quote, you’ll need to do the following checks and tick them:
Tick boxes: Currency Check ( ensuring that the correct currency for that account has been used).
End User Confirmed ( End users need to be created as soon as a quote is being created, when the end user has been created the name will be underlined).

When moving to Identify: ( Kindly note each quote needs to be moved to identify by OPS)
Tick boxes: GP % check, use confirmation from sales and notify sales if the BP account is on hold. RED Flag CHECK ( red highlighted writing above the quote summary).
: Attached all necessary documents to the documents tab, ( these will include vendor quotes and specs)
: Double check cost, selling price and margin on all line items before sending out the quote.

: Quote sent to sales and or BP or both (When sending to sales request that the check that the quote is accurate, and all is in order)
When sending a quote make use of the below checklist:
- GP / Margin correct or as advised on the request from sales or BM.
- End user name is captured and visible on quote.
- VQ number is visible on quote.
- The number of line items matches the vendor quote.
- Cost price matches vendor quote total.
How to place Veeam Order:
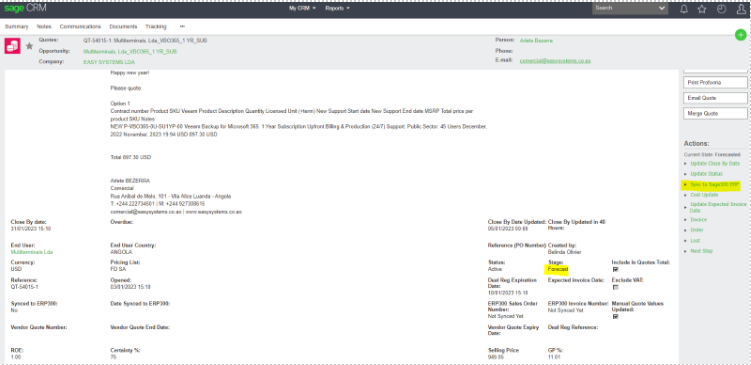
Go to the CRM opportunity make sure the Updated Status is on Forecast otherwise you will not be able to Sync to Sage300ERP (Accpac)
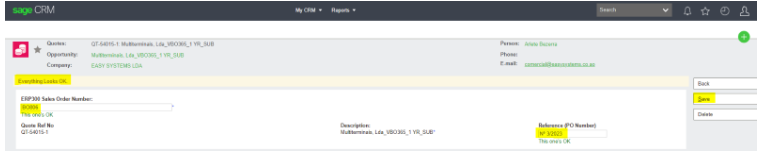
Press on the Sync to Sage300ERP it will take you to the page below, fill in your SO# and the Business Partners PO number make sure everything is fine see wording Everything Looks OK is written on this page, press save, the CRM side is now done and ready to continue via Accpac
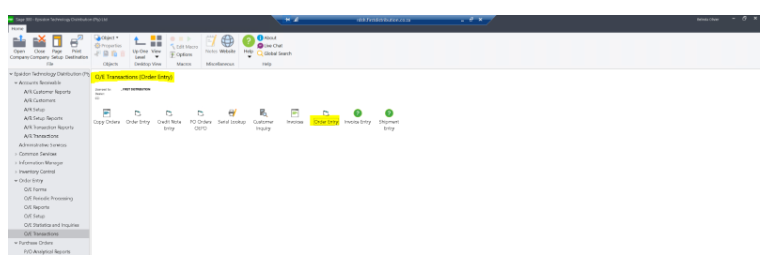
Open your Accpac and select O/E Transactions (Order Entry) press on Order Entry
Below screen will appear, go fill in your SO# on the block that says Order No. in this case it will be BO806 and press on Tab
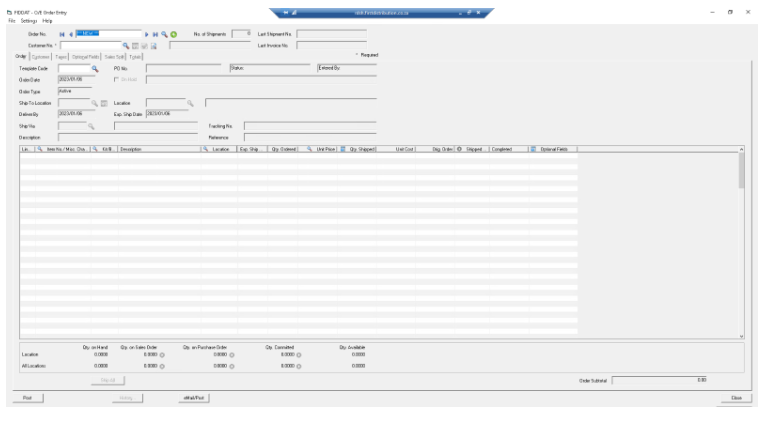
The below will appear, however you still need to fill in more information on this opportunity before you can actually press on eMail/Post
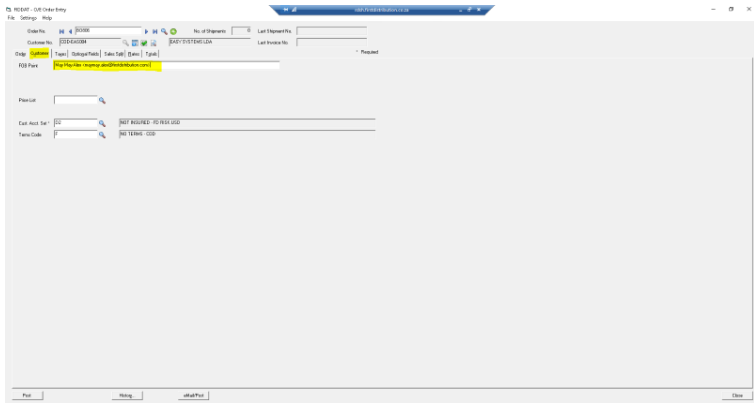
Click on the Customer Tab to fill in the AM’s (Account Manager) email address
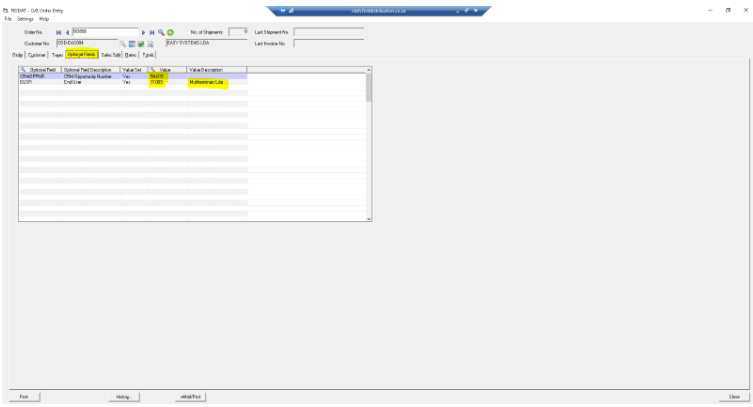
Go to Optional Fields to make sure the CRM OPP number is correct and the EU is correct
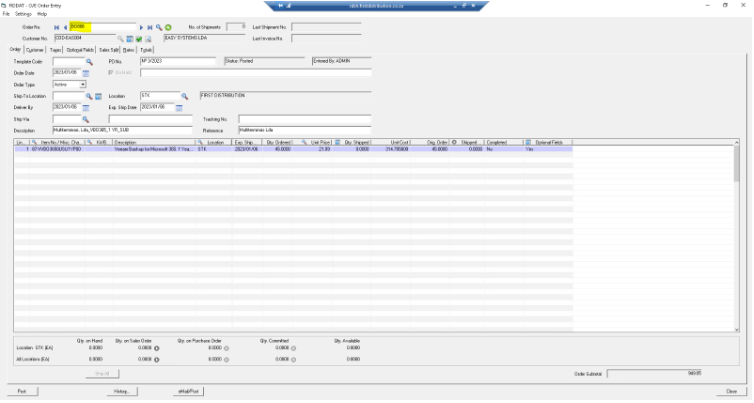
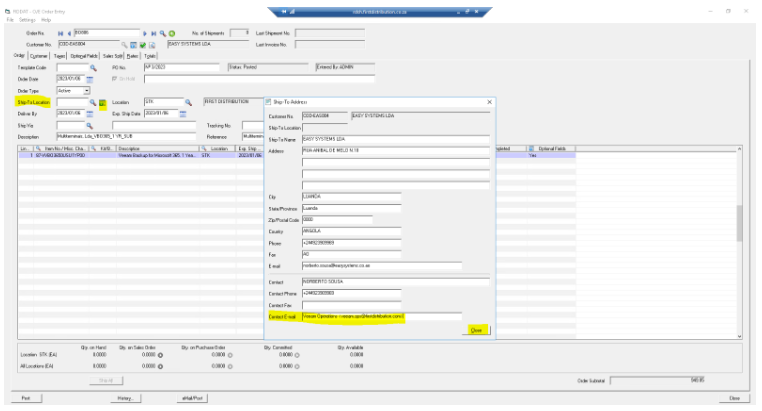
Go back to your Order Tab to go fill in the rest of the information that needs to be filled in, below is the screenshot to add in the Veeam Alias address so that we receive the notification that we have placed PO go to Ship-To Location press on the little block next to the magnifying glass to make the changes, add the alias address in as per screenshot below, press on Close after the below is done to continue
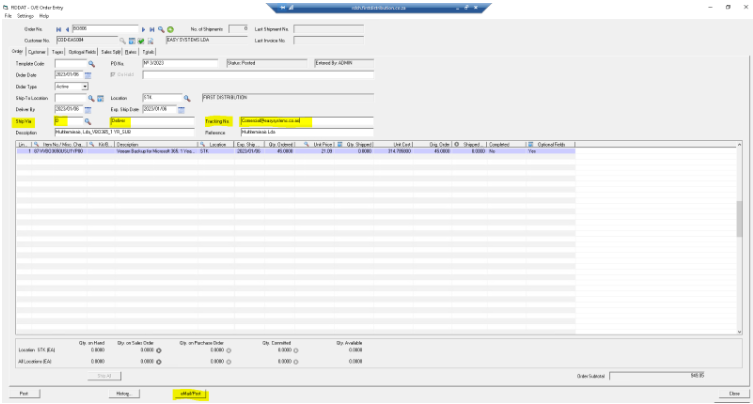
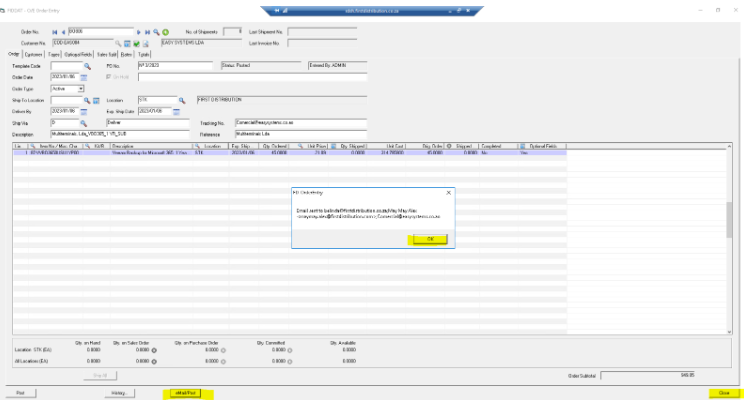
You need to fill in the Ship Via block, we just add the letter D and the word Deliver appears next to the D, also fill in the Tracking No. block, here we fill in the BP’s information they have on the Veeam Order Form that the BP supplied, normally it is their email address. After all this is done press on eMail/Post
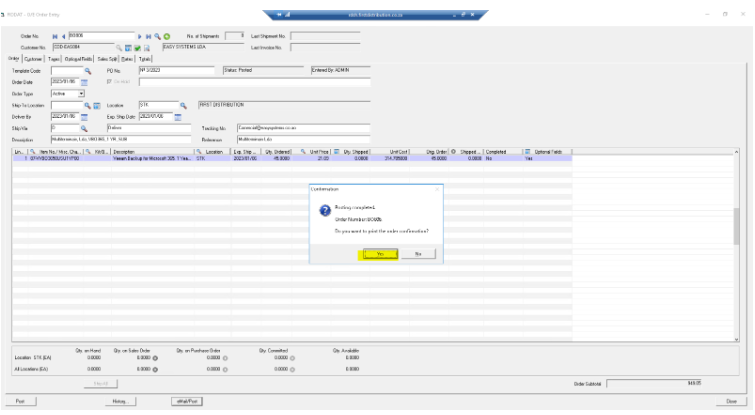
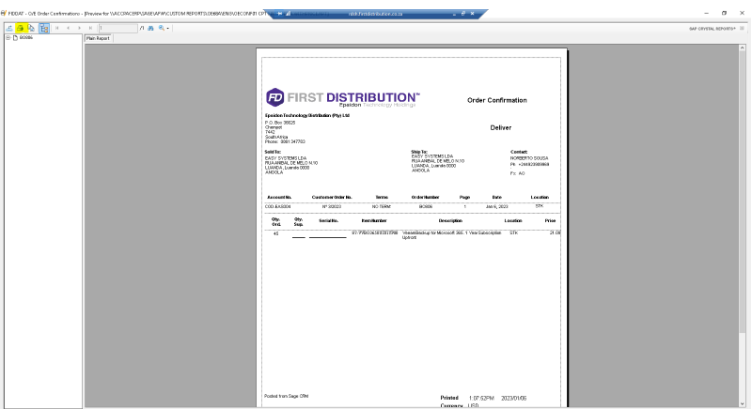
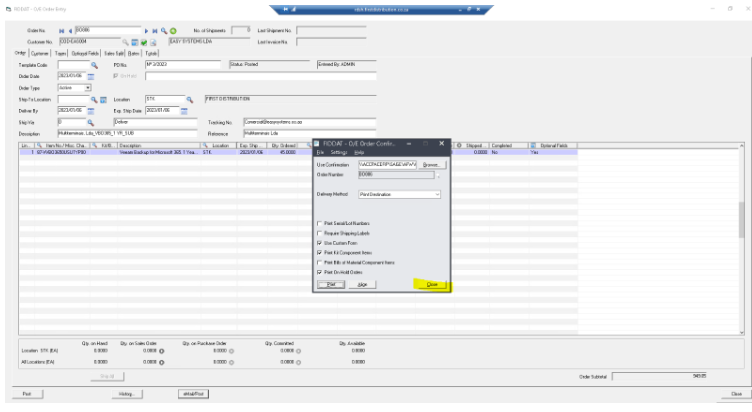
After all the above is done press on eMail/Post, you will see below pop up “Do you want to print the order confirmation?” press Yes
The below block will appear, press on the Print block
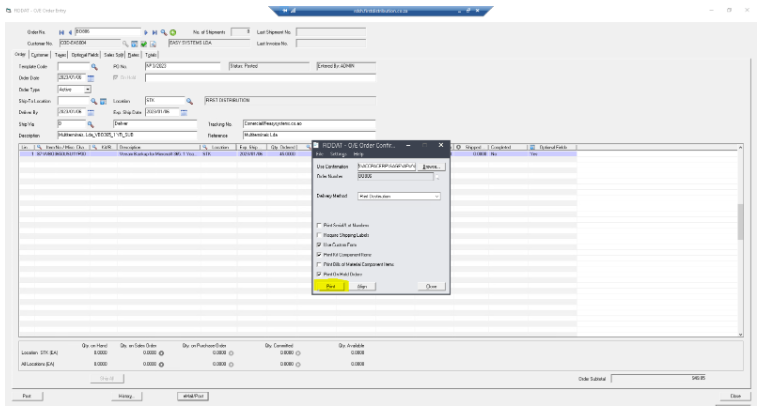
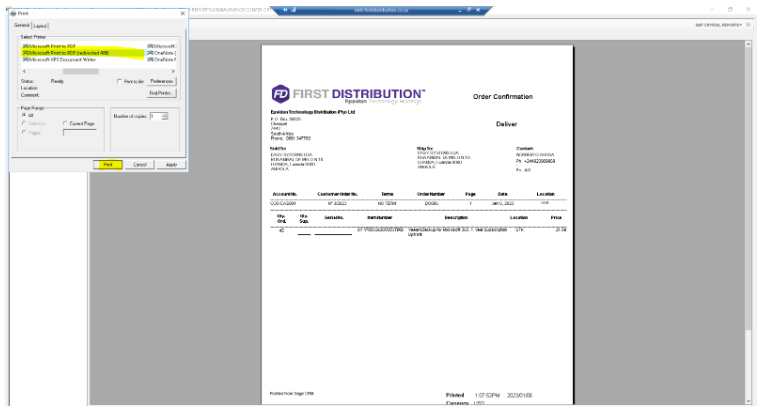
The below screen will appear click on the pic of the printer as highlighted below
The below screenshot will appear make sure the correct printer is used as we save this under the Veeam Order pack (we will get to this part further down) and press Print
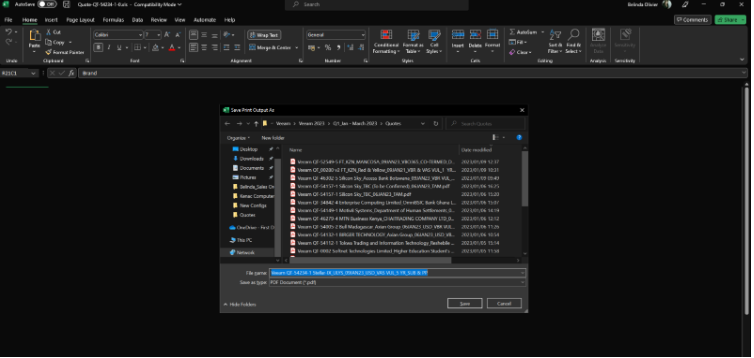
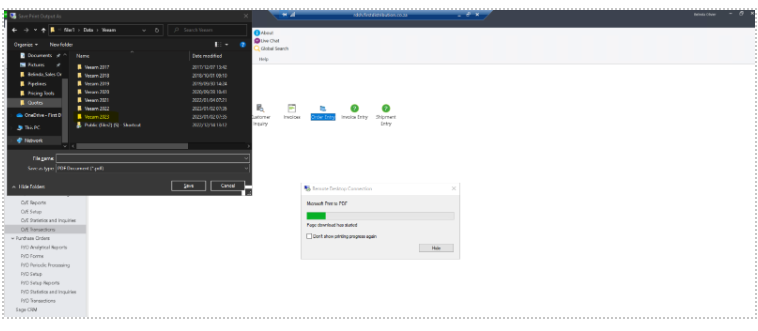
Go choose where you want to save to
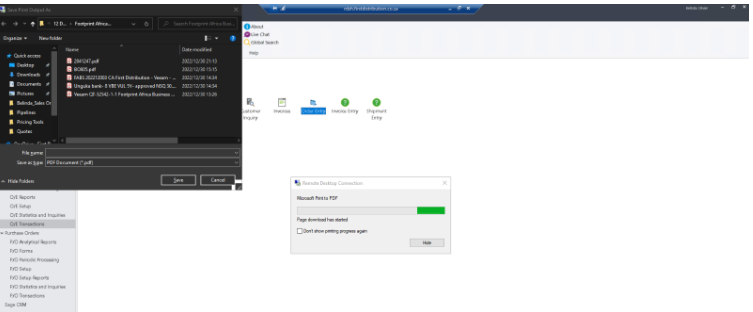
I go Desktop and Veeam – Shortcut
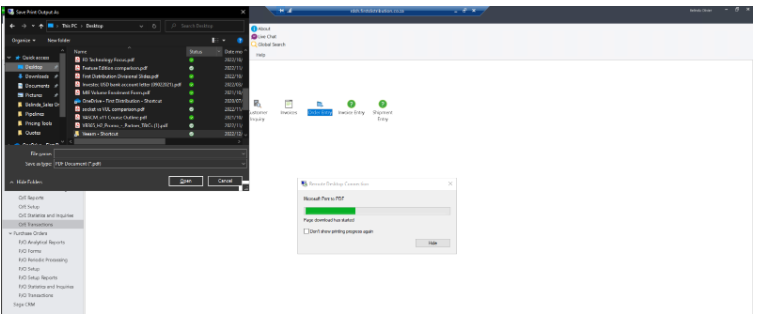
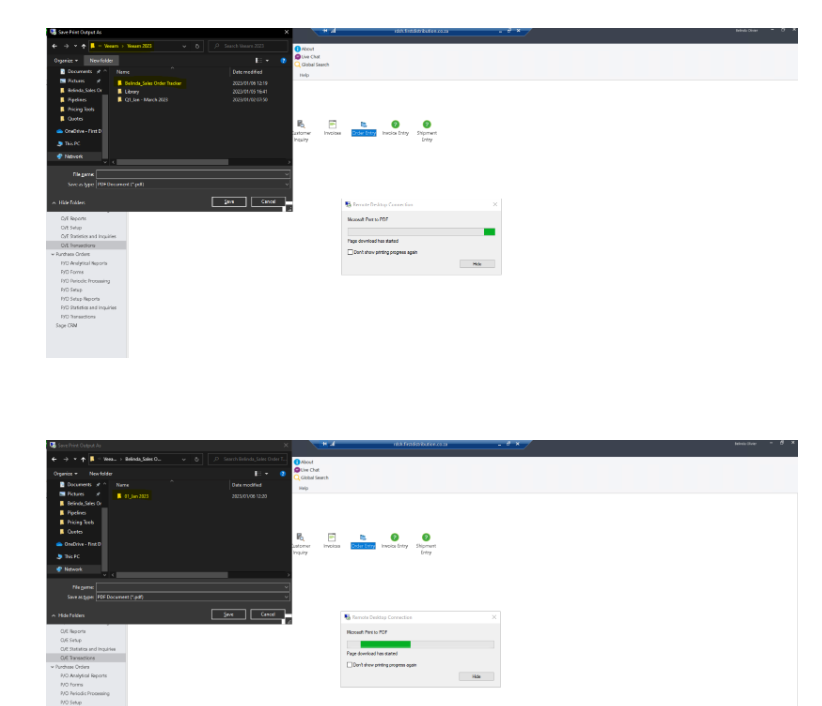
I then choose my Veeam Folder in this case Veeam 2023
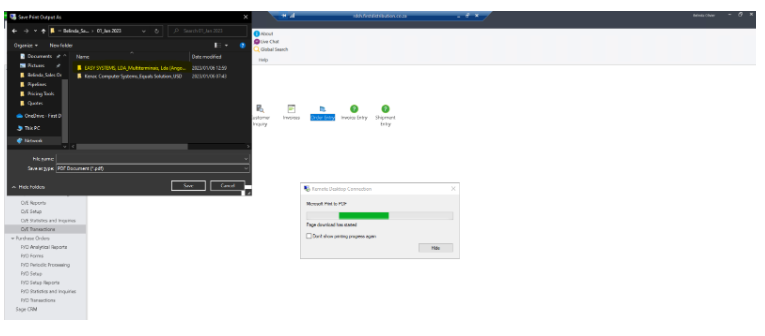
Go to the highlighted Belinda-Sales Order Tracker folder and choose the correct folder in this case we are in January hence we choose 01_Jan 2023
Go to the correct folder we are busy placing and save into that folder
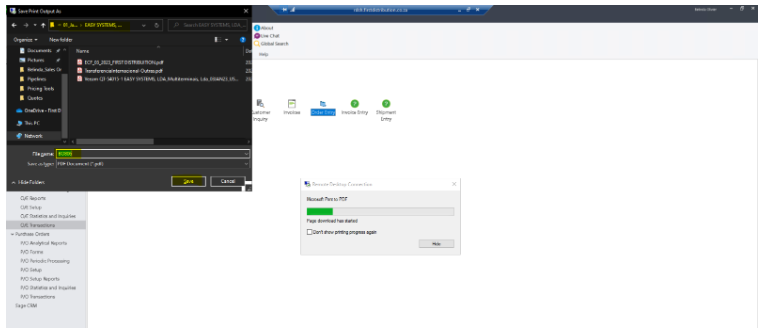
After the page has been saved on the Veeam Folder go back onto the main screen and go press on Close
The below screenshot will appear first press on the block that says OK then on the block that says email then press on Close, your PO is now completed on Accpac
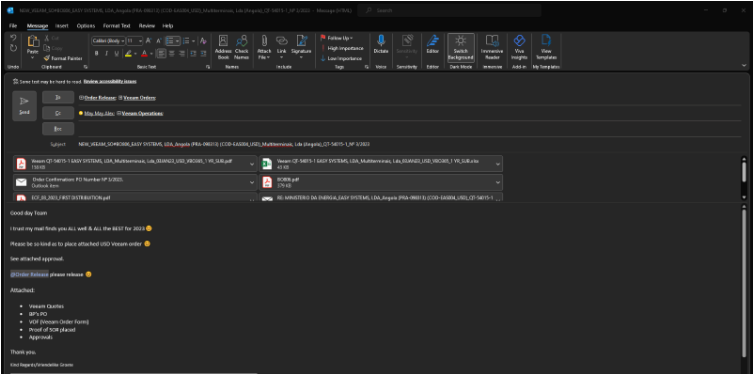
Send your Order Pack to the Order Team as per below, fill in as much information as possible on the subject line and make sure all the below listed attachments are all included when placing.
The PO can only be done by Procurement once the below Order Release mail is received from our Order Release team.
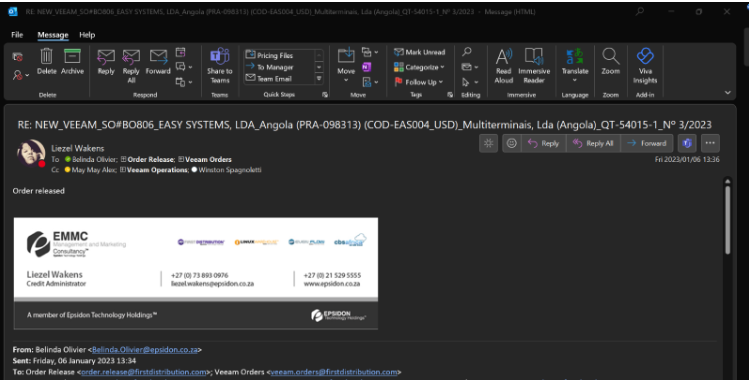
After the above-mentioned mail is received the PO will go to Procurement and they will do all the necessary on their side, we should get license keys back between 24 – 72 hours and not long after that we will receive the FD Invoice all this gets sent to the BP for their records.
If you need to see who in the accounts department handles which account, please see below, this is not the same account for the above exercise, this is just an interesting and useful FYI ☺