Codes create workflow Process Mapping
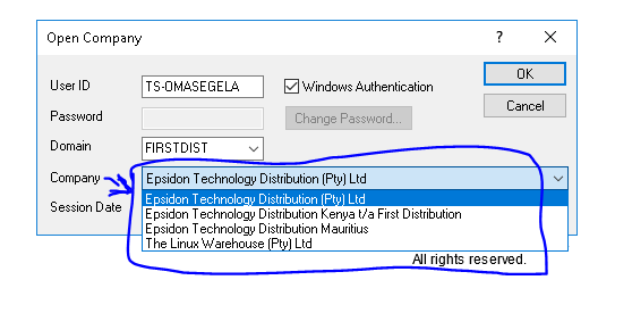
This is a login page with four different companies’ site
Step1
Step 2
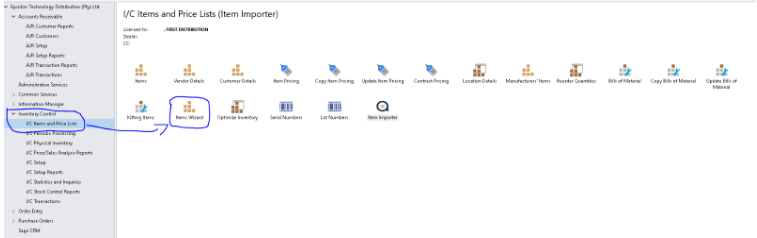
Create a product code
-
Click the Inventory Control side arrow on the left-hand side
-
then I/C items and price lists
-
Item Wizards
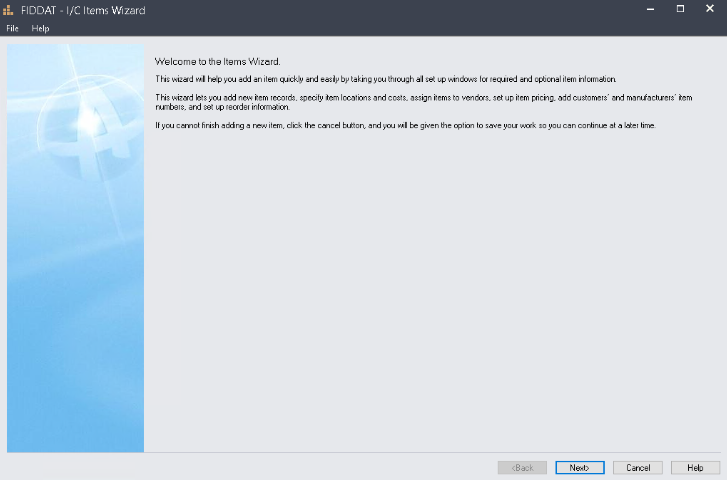
Step 3
Items Wizard
-
Click Next
Step 4
First Page of capturing a product specification
-
Item Number is a Product Code with a prefix
-
Commodity Number is a product Code without a prefix
-
Add a product description in the item description field
-
Structure code is always ITEM
-
Add a given category in the category field
-
Account set code (it is either MA or LOT, it depends on the requester)if it is for LOT please put a mark in the LOT Number option below
-
Then click Next

Step 5
-
Add product description under Additional Item Information
-
Always select Each on the Unit of measure
-
Always select yes Stocking Unit of Measure
-
Then click Next

Step 6
-
Brand 1- always add no 1 under the value field
-
Brand2,3&4 is always N/A EXCEPT for Dell
-
Brand 5 & ComGrp are determined by the category
-
Model- you add B if it is for a back-to-back item or put N if it is for a non-stock item

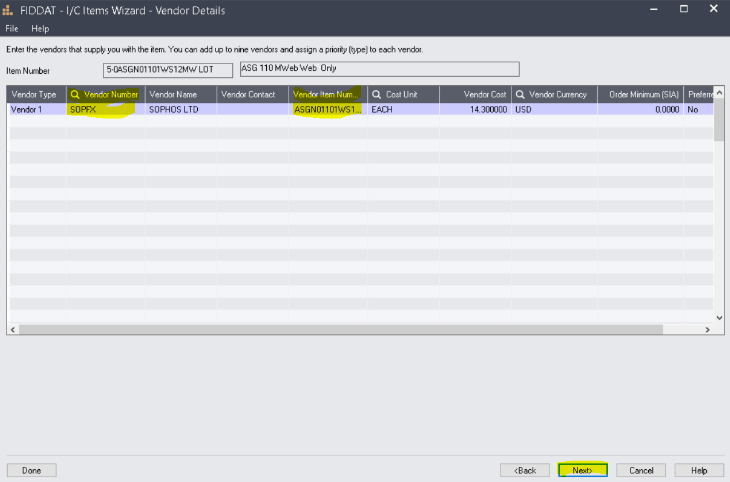
Step 7
Vendor Details Page
-
Search and add a vendor Number under the vendor Number column
-
Add an item Number with no prefix under a Vendor item Number column
-
Then click Next
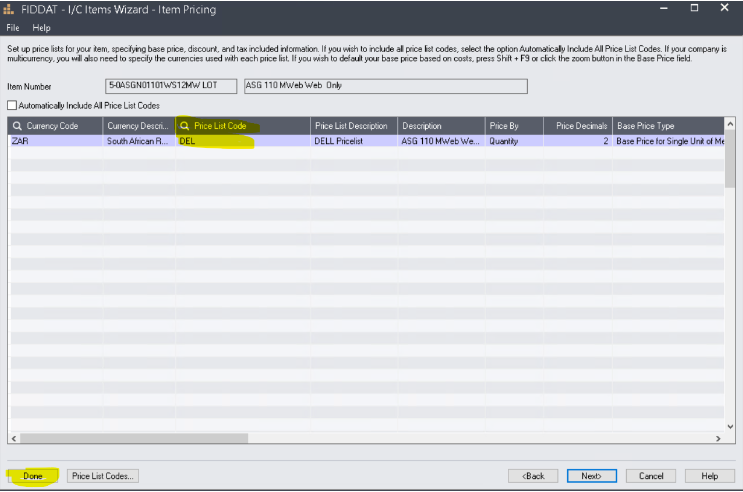
Step 8 (the last step)
Item Pricing
- Search and add the pricelist code under the Pricelist code field
- Then Done and Next